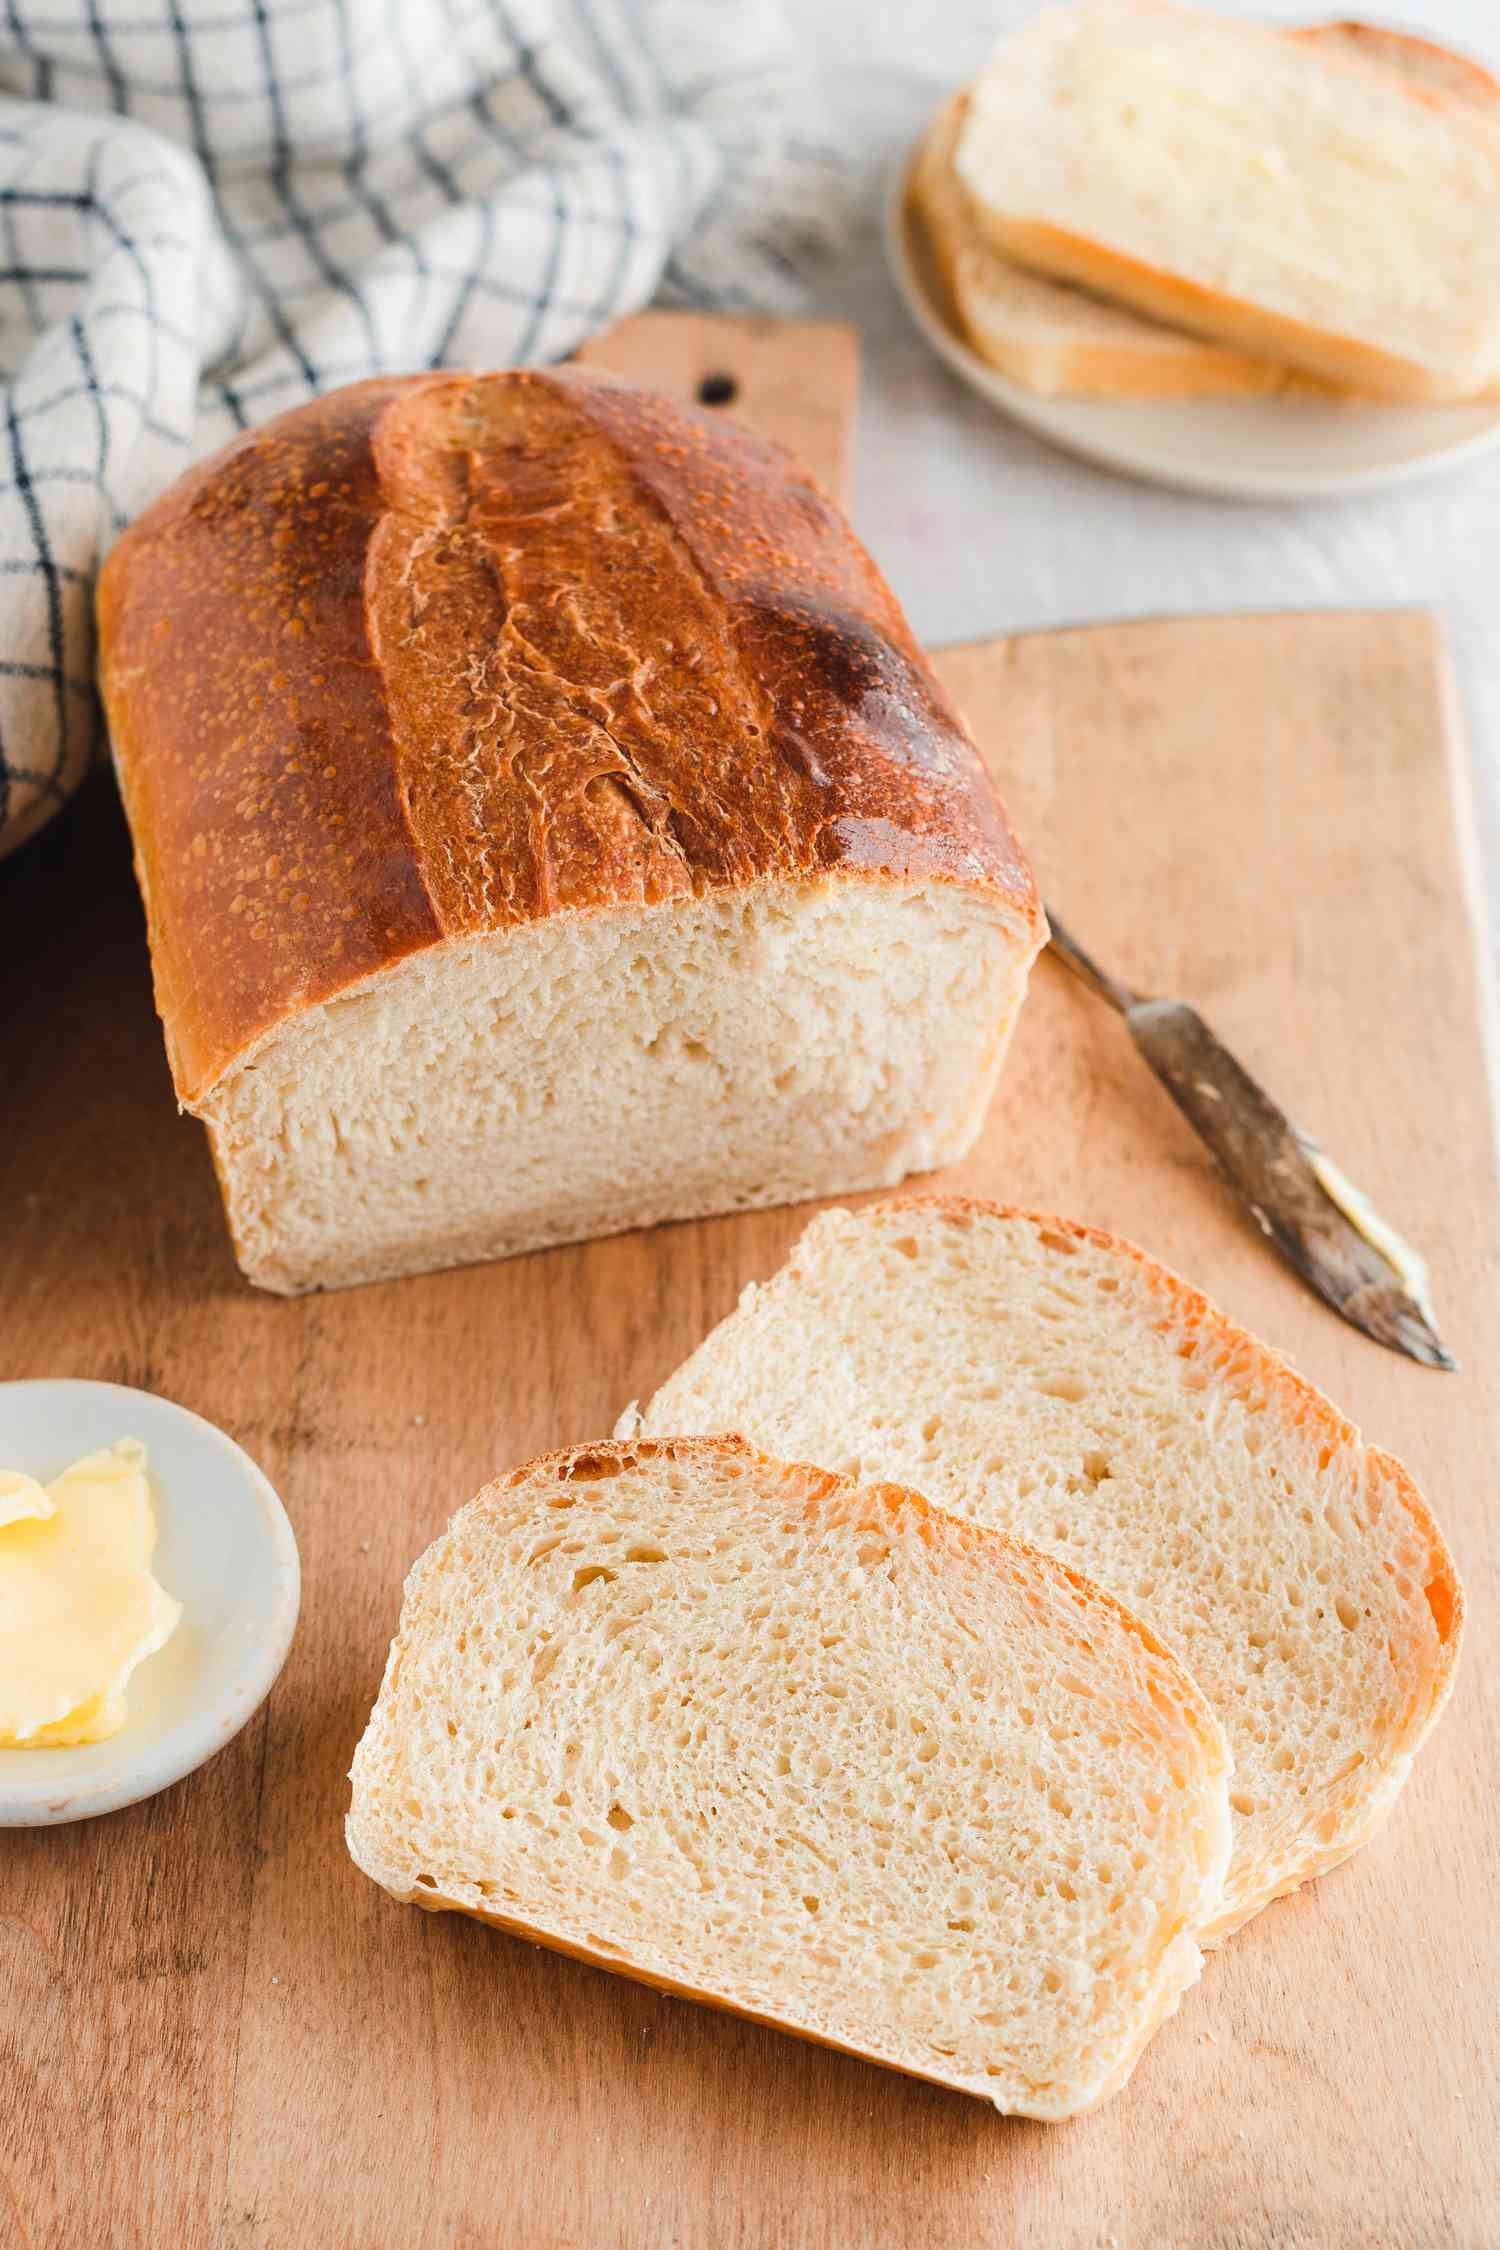
Baking fresh bread at home is one of the most rewarding kitchen projects you can ever start. This sourdough sandwich loaf recipe brings together the deep naturally fermented flavor of artisan sourdough and the soft, tender sliceable texture of classic store bought sandwich bread. Traditional sourdough loaves often have a very hard crust and huge holes inside, which can make it tricky to build a soft lunch sandwich without ingredients leaking out. This recipe changes all of that by taking healthy natural sourdough starter and combining it with simple pantry items to create a soft, square, square cornered loaf that cuts cleanly every single time. You do not need any advanced baking skills or professional tools to make this loaf at home. Everything about this recipe is designed to be gentle on beginners who want healthy bread without the complicated steps.
People fall in love with this soft sourdough sandwich loaf because it combines pure comfort with amazing everyday usability. When you slice into a fresh homemade loaf, you instantly notice how soft the inside crumb stays while still holding its structure for heavy sandwich fillings like roasted chicken, melted cheese, fresh tomato, or creamy peanut butter. Unlike store bought loaves that contain artificial shelf preservers, unwanted chemicals, and processed sugars, this loaf is made with simple clean ingredients that nourish your family. The mild sour tang gives your morning toast an elevated flavor that plain white bread could never match. You get the incredible satisfaction of holding a beautiful golden brown loaf that you made completely from scratch with your own hands.
Making this loaf is an ideal project for quiet weekends when you want your home to smell like a warm professional bakery. It brings a deep emotional comfort to slow down, mix simple dough, and watch it naturally rise over time through gentle wild yeast fermentation. If you care about personal health and fitness, this sourdough sandwich loaf is a fantastic addition to your daily routine because naturally fermented grains are much easier on your stomach and promote better digestive wellness. The slow fermentation process breaks down complex gluten and phytic acid, making the natural nutrients in the grain much easier for your body to absorb. Whether you want to pack healthy lunchboxes for school, prep clean meal options for your week, or simply enjoy hot toasted bread with warm butter, this recipe fits effortlessly into your life.
As you build this baking habit, you will quickly find that making your own sourdough sandwich bread becomes a peaceful, joyful routine. There is a real sense of pride that comes from serving real homemade bread to the people you love most. Children and adults alike love the tender bites and bright savory flavor, making store bought bread a thing of the past in your kitchen. Every slice offers a soft bite that holds together without falling apart or getting soggy when you pack a fresh sandwich for later in the day. Taking control of what goes into your daily food is a wonderful feeling, and starting with your bread is one of the single best steps you can take for a healthier, happier kitchen.
Ingredients You Will Need
To bake one full sized soft sourdough sandwich loaf, gather these exact ingredients:
- Active sourdough starter that is bubbly and fed: 150 grams (about three quarters of a cup)
- Warm water between 80 and 85 degrees Fahrenheit: 250 grams (about one cup)
- Bread flour or unbleached all purpose flour: 500 grams (about four cups)
- Whole milk or milk alternative at room temperature: 50 grams (about three tablespoons)
- Pure honey or organic maple syrup: 25 grams (about one tablespoon)
- Fine sea salt or kosher salt: 10 grams (about one and a half teaspoons)
- Unsalted butter softened at room temperature: 30 grams (about two tablespoons)
Step by Step Method
Step 1: Mixing the Starter and Liquids
Begin by taking a large mixing bowl and setting it on a digital food scale. Measure out your active sourdough starter, warm water, milk, and honey directly into the bowl. Whisk everything together gently with a whisk or wooden spoon until the bubbly starter completely dissolves into the liquid. This ensures that the wild yeast is evenly distributed throughout the whole dough mixture.
Step 2: Adding the Flour and Initial Dough Mixing
Pour your bread flour and fine sea salt directly into the bowl with the wet mixture. Stir the mixture using a sturdy wooden spoon or a dough whisk until all the dry flour is absorbed into a messy dough ball. Make sure there are no pockets of raw dry flour hidden at the bottom of the bowl. Cover the bowl loosely with a clean damp kitchen towel and let it rest on your kitchen counter for 30 minutes. This resting phase is called autolyse, and it allows the flour to absorb the liquids naturally.
Step 3: Incorporating the Softened Butter
After the short rest, uncover your bowl and add the softened unsalted butter directly on top of the dough. Using your hands, squeeze and knead the butter into the dough until it is completely blended. The dough will feel slippery at first as the fat mixes in, but within two to three minutes of gentle kneading inside the bowl, the butter will absorb completely, leaving you with a smooth and supple dough ball.
Step 4: First Rise and Stretch and Folds
Cover the bowl again with your damp towel and place it in a warm area of your kitchen. Let the dough rise for about four to six hours. During the first two hours of this rise, you will perform three sets of stretch and folds spaced 30 minutes apart. To do a stretch and fold, wet your hand slightly, reach under one side of the dough, pull it gently upward without tearing it, and fold it over the top toward the opposite side. Rotate the bowl a quarter turn and repeat this action four times around the dough ball. This simple stretch and fold method builds gluten structure and strength without any heavy physical kneading.
Step 5: Bulk Fermentation
After completing your stretch and folds, leave the dough completely alone in its warm spot to finish its bulk fermentation. The dough is ready for shaping when it has expanded in size by roughly 50 to 75 percent, feels light and airy when you touch it lightly, and shows small air bubbles under the smooth top surface.
Step 6: Shaping Your Sandwich Loaf
Lightly dust your kitchen counter with a tiny bit of flour and turn your dough out onto the surface. Gently press the dough down into a flat rectangle shape that is about eight inches wide and twelve inches long. Fold the left third of the rectangle into the center, and then fold the right third over top, just like folding a letter for an envelope. Starting from the short top end closest to you, roll the dough up tightly into a firm log shape. Seam side down, lightly cup your hands around the log and pull it gently toward you across the counter to build tension on the top outer skin.
Step 7: Final Proofing in the Loaf Pan
Lightly grease a standard nine by five inch metal loaf pan with butter or oil, or line it with parchment paper. Carefully lift your shaped dough log and place it seam side down inside the prepared loaf pan. Cover the pan loosely with a clean towel or an upside down plastic bag so the top does not dry out. Let the dough rise at room temperature for another two to four hours until the highest part of the dough rises about one inch above the rim of the pan.
Step 8: Baking Your Loaf
Preheat your oven to 375 degrees Fahrenheit (190 degrees Celsius). When the dough has risen beautifully above the pan rim, place the loaf pan on the center rack of your preheated oven. Bake for 35 to 40 minutes until the top crust turns a deep golden brown color. If you have an internal meat thermometer, you can test for doneness by checking that the center of the loaf reaches 200 degrees Fahrenheit.
Step 9: Cooling and Slicing
Remove the loaf pan from the oven and let the bread sit inside the hot pan for five minutes. Carefully tip the loaf out of the pan and place it onto a wire cooling rack. Allow the bread to cool completely to room temperature for at least two hours before slicing. Slicing warm bread can trap moisture and cause the soft center to turn gummy, so waiting for it to cool fully gives you the best light texture.
Why This Recipe Is Special
This sourdough sandwich loaf stands out because it brings together the incredible health advantages of wild fermentation with the smooth soft texture needed for everyday meals. Traditional sourdough bread can sometimes have a thick and hard crust that hurts your mouth, but this recipe includes milk, honey, and butter to soften the crust while preserving the wonderful fermented taste. The natural fermentation process uses friendly wild yeast and beneficial bacteria to break down complex carbohydrates and gluten in the wheat, making this loaf vastly easier to digest than fast baked commercial breads.
From a nutritional perspective, sourdough bread offers a lower glycemic impact, meaning it releases energy steadily into your body rather than causing quick spikes in blood sugar levels. Phytic acid, an antinutrient naturally found in grain bran that can block your body from absorbing essential minerals like magnesium, iron, and zinc, is significantly reduced during the long fermentation period. This means every bite gives you more accessible nourishment. Beyond health benefits, the gentle savory sour notes balance perfectly against subtle sweet honey, creating an unmatched flavor that turns simple toast into a delicious treat.
Extra Tips for Better Taste
- Use whole milk or buttermilk instead of water if you want an even softer crumb and richer milk flavor throughout the loaf.
- Substitute a quarter of the white bread flour with whole wheat flour or rye flour to add a nutty flavor and higher fiber content.
- Brush the top of the loaf with melted butter right after removing it from the oven to keep the top crust extra tender and shiny.
- Add two tablespoons of mixed seeds like chia, sesame, sunflower, or flax into the dough during the first fold set for added crunch and nutrients.
- Ensure your sourdough starter is fully active and doubled in size within four to six hours of feeding before you begin mixing your recipe.
- Store your fully cooled sourdough sandwich loaf inside a cotton bread bag or a wooden bread box to keep the crust soft for days.
Final Thoughts
Baking a fresh sourdough sandwich loaf at home is a simple pleasure that fills your kitchen with warmth, amazing aromas, and genuine comfort. Once you master this easy beginner friendly method, you will never need to buy expensive mass produced sandwich bread from the store again. Take your time, enjoy every step of the process, and share warm slices with the people you care about most. Happy baking!
Nutrition Details
Below is the nutritional breakdown calculated per slice, assuming the finished sourdough sandwich loaf yields 12 equal slices.
| Nutritional Component | Amount Per Serving |
| Calories | 185 kcal |
| Total Fat | 3.2 grams |
| Saturated Fat | 1.8 grams |
| Trans Fat | 0.0 grams |
| Cholesterol | 8 milligrams |
| Sodium | 320 milligrams |
| Total Carbohydrates | 32 grams |
| Dietary Fiber | 1.5 grams |
| Total Sugars | 2.5 grams |
| Added Sugars | 2.0 grams |
| Protein | 6.0 grams |
| Calcium | 22 milligrams |
| Iron | 1.8 milligrams |
| Potassium | 65 milligrams |
Disclaimer
This recipe and its nutrition details are provided for general educational and informational purposes only. Everyone’s body, health status, and digestive needs are unique, so individual dietary results and tolerance to fermented gluten products may vary. If you have severe gluten sensitivities, celiac disease, or specific health conditions, please consult a qualified medical professional or certified nutritionist before adding new fermented foods to your daily meal routine.