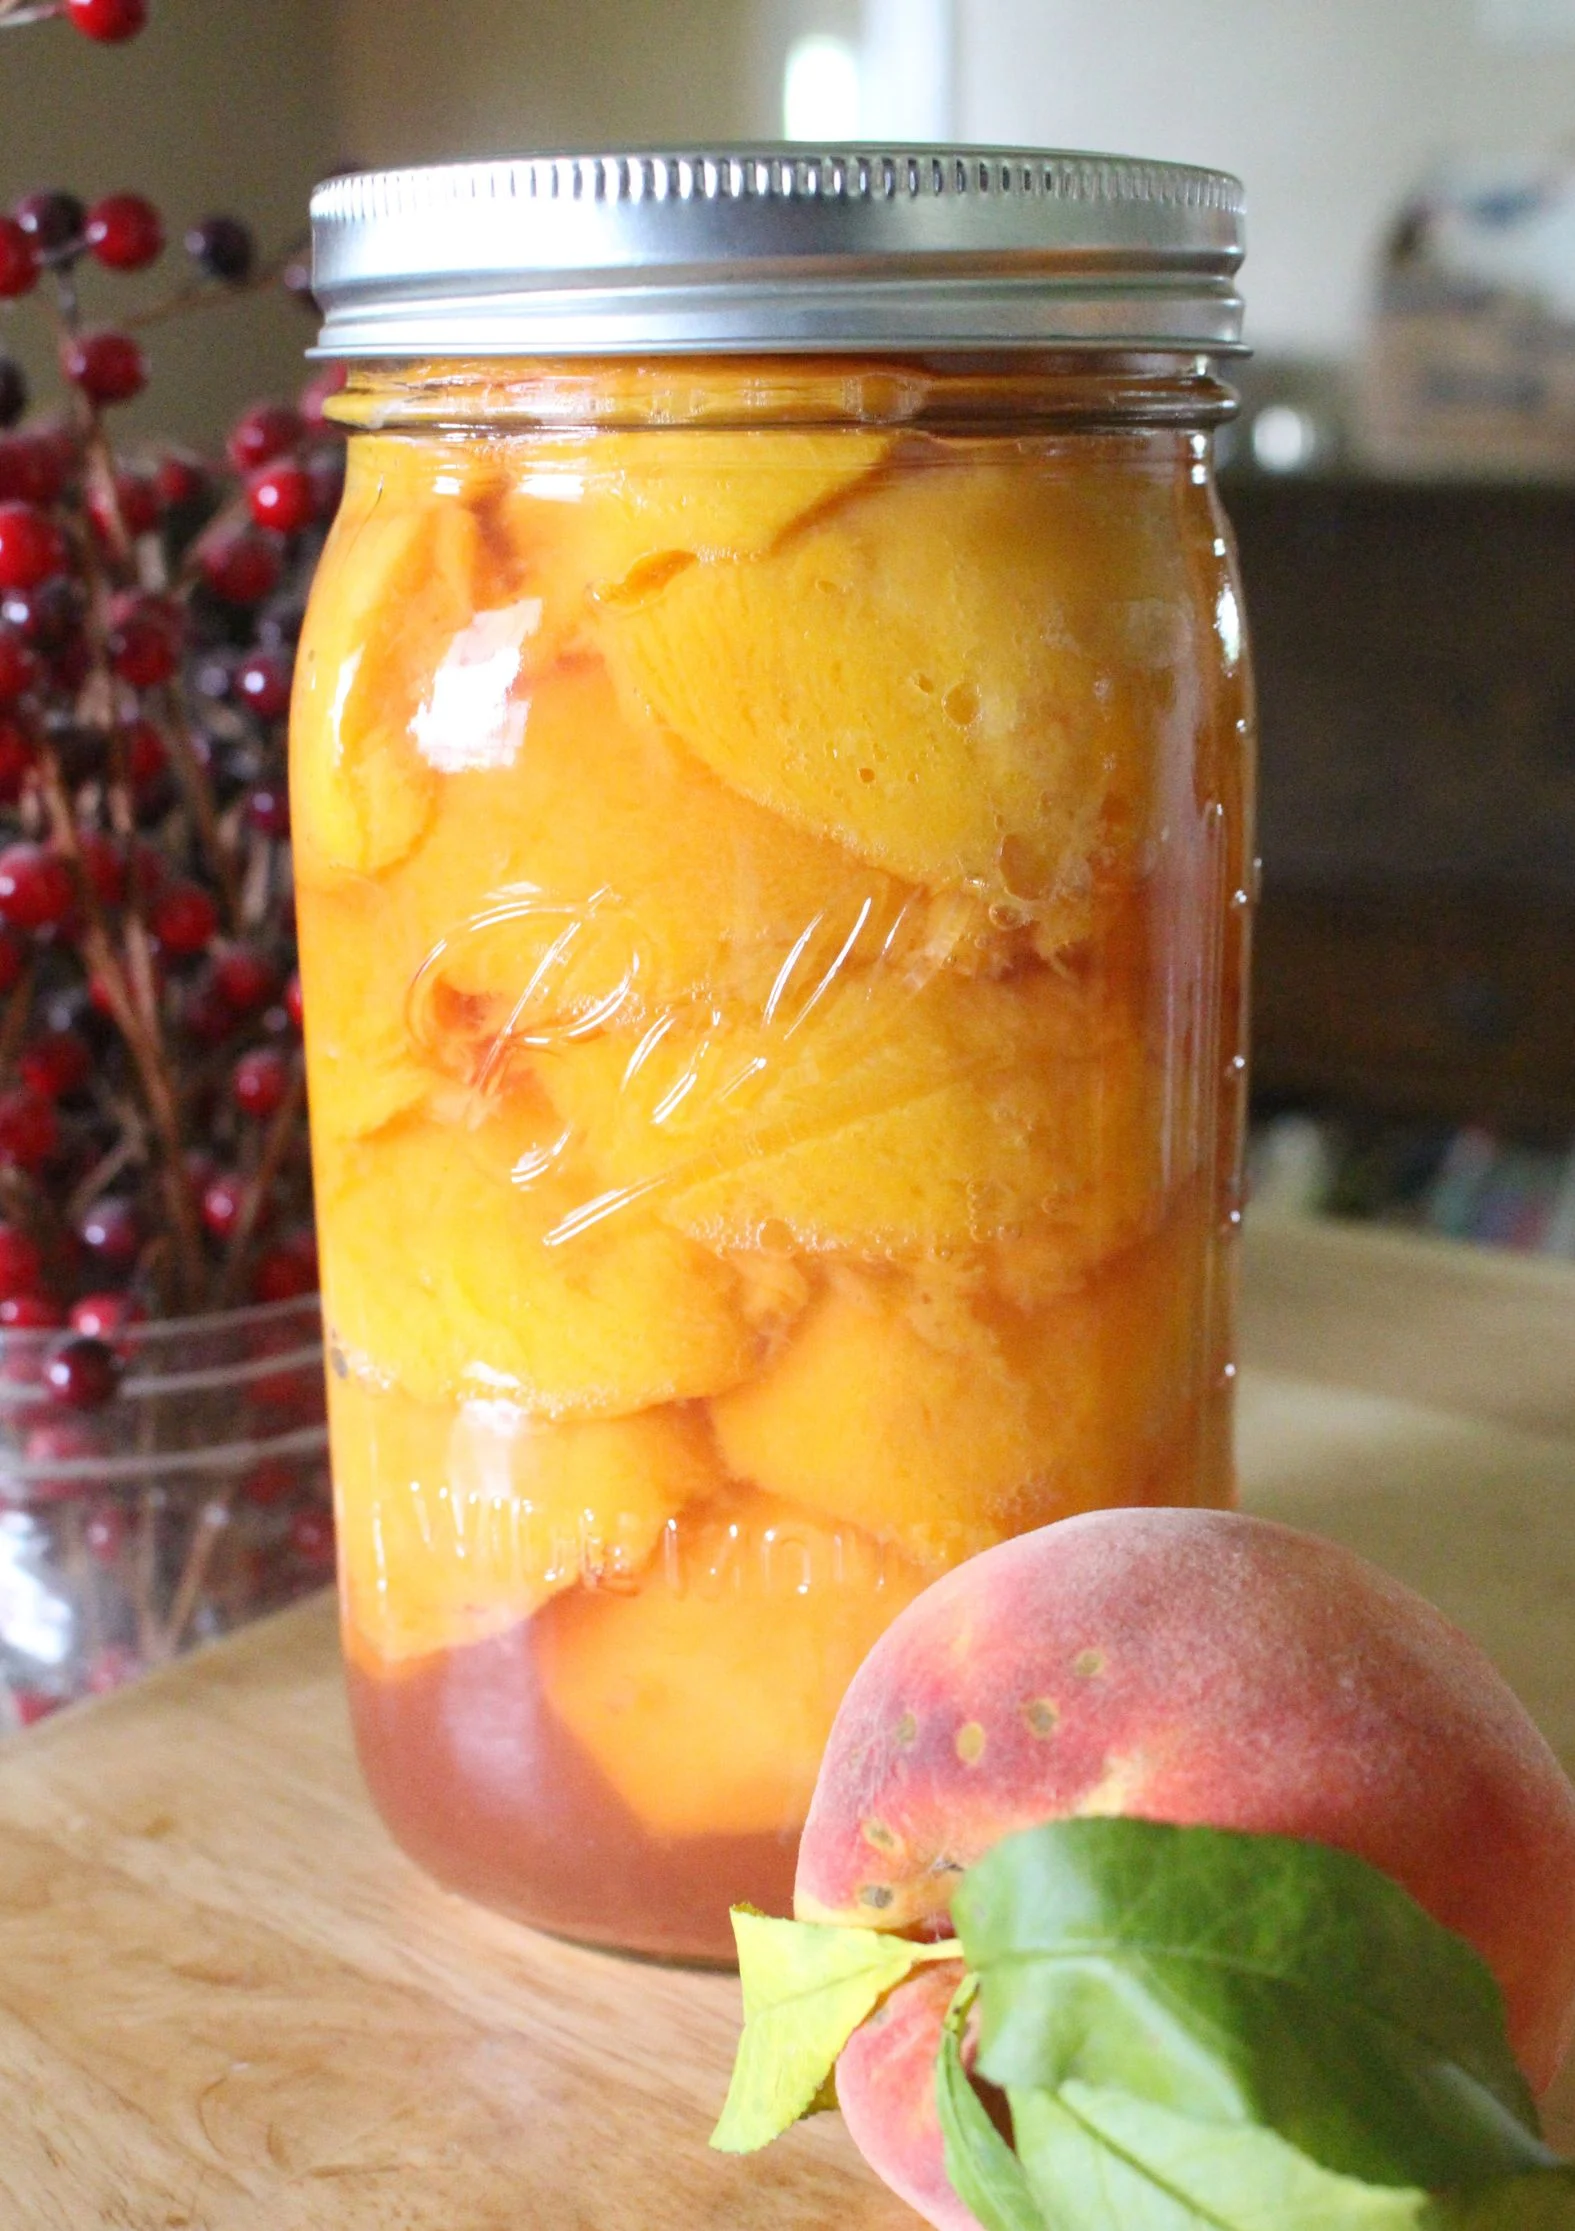
Making your own preserved fruit at home is one of the most rewarding kitchen projects you can ever try, and learning how to preserve fresh fruit in sweet liquids is a skill that will stay with you for a lifetime. This comprehensive food guide focuses entirely on a simple, delicious, and reliable way to prepare sweet summer fruit in glass jars so you can enjoy the incredible taste of summer long after the season has passed. By taking juicy yellow or white orchard fruits and gently processing them in a mild water bath, you create preserved jars that store easily in your pantry for months. The process is amazingly straightforward, requiring only fresh fruit, clean water, sugar, and a few basic kitchen tools that you likely already own. You do not need to be an expert chef or have years of kitchen experience to master this task. Everything is broken down into simple, easy to understand steps so that even complete beginners can follow along with total confidence and zero stress.
So many people absolutely love preparing fruit this way because store bought alternatives simply cannot compare to the pure flavor and texture of homemade preserves. Commercial cans found in grocery stores are often filled with overly thick liquids, high fructose corn syrups, artificial preservatives, and fruit slices that have lost their vibrant color and natural firm texture during mass production. When you make your own preserve at home, you have total control over every single ingredient that goes into your glass jars. You can select the absolute freshest, ripe fruit from a local farmer market or your own backyard tree, ensuring maximum natural flavor and nutrient value. Furthermore, you can custom adjust the sweetness level of your syrup so that the natural tangy essence of the fruit truly shines through rather than being hidden under excessive sugar. The end result is a bright, beautiful jar of glowing golden fruit slices that tastes completely fresh, crisp, and wonderfully delicious every single time you pop open a lid.
There are so many wonderfully emotional and practical reasons to embark on this kitchen journey, whether you are looking to connect with nostalgic family traditions or simply want to eat healthier. Think about walking into your cold food pantry during the darkest, coldest days of winter, opening a shelf, and pulling out a sparkling glass jar full of golden sunshine that you prepared with your own hands during the warm summer months. Taking a single bite of sweet fruit during freezing weather brings back instant memories of warm sunny days, sweet summer breezes, and happy outdoor gatherings with family. Beyond the emotional joy and nostalgia, making your own food preserves is fantastic for fitness and general wellness goals. You avoid unwanted chemicals, hidden sodium, and artificial colors that food factories often add to canned goods. You can enjoy a low fat, natural dessert or a wholesome topping for your morning oatmeal and yogurt that gives you pure, clean energy throughout the day without causing massive sugar spikes or digestive discomfort.
This wonderful preservation practice is also one of the most economical and environment friendly choices you can make for your home kitchen routine. When fruit trees are overflowing with produce during peak harvest season, you can often buy large boxes of fresh fruit at incredibly low prices from regional growers or local markets. Instead of letting all that beautiful, ripe produce go to waste, canning allows you to save substantial money on your annual grocery bills while drastically reducing plastic and aluminum packaging waste. These handmade golden jars also make the most thoughtful, impressive gifts for your neighbors, friends, and family members during holidays or special party occasions. Offering someone a gift made with love and effort in your own kitchen shows immense care and warmth. Once you experience the absolute joy of hearing those jar lids pop shut in your kitchen, indicating a perfect airtight seal, you will feel an incredible sense of pride and self sufficiency that will inspire you to preserve fresh food year after year.
Ingredients You Will Need
- 12 pounds fresh ripe peaches (yellow clingstone or freestone varieties work wonderfully)
- 4 cups white granulated sugar (for medium syrup) or 2.25 cups white granulated sugar (for light syrup)
- 8 cups clean filtered water
- 4 tablespoons lemon juice or bottled lemon juice concentrate (to preserve natural fruit color)
- 1 large bowl of ice water for cooling peeled fruit
Step by Step Method
- Clean and prepare your workspace by washing all your counters, cutting boards, knives, and kitchen utensils with warm soapy water and clean towels.
- Wash all fresh peaches thoroughly under cool running water to remove any dirt, dust, or fuzz from the skin.
- Prepare a large pot of boiling water on your stove, and prepare a separate large bowl filled with clean cold water and ice cubes.
- Using a small knife, gently cut a small cross or X mark through the skin on the bottom of each fresh peach.
- Place four or five peaches at a time into the boiling water and leave them there for about 30 to 60 seconds until you see the skins loosen.
- Immediately lift the peaches out of the boiling water using a slotted spoon and plunge them directly into the ice water bowl to stop the cooking process.
- Leave the fruit in the ice water for one minute, then pull them out and easily peel the skins off using your fingers or a small paring knife.
- Cut each peeled fruit in half around the center pit, twist the halves apart gently, remove the hard seed pit, and slice the fruit into clean uniform slices or leave them as large halves.
- Toss your sliced fruit in a bowl with two tablespoons of lemon juice mixed in water to keep the golden slices from turning brown while you prepare the liquid syrup.
- Make your sweet syrup solution by combining 8 cups of clean water with your chosen amount of sugar in a large saucepan over medium heat, stirring continuously until all sugar crystals fully dissolve and the liquid boils gently.
- Choose light syrup by using 2.25 cups of sugar for a lighter taste, or choose medium syrup by using 4 cups of sugar for a sweeter traditional taste.
- Keep your prepared syrup warm on low heat while you sterilize your glass canning jars and metal lids in warm water.
- Carefully pack your sliced peaches tightly into warm, clean canning jars, leaving about one half inch of empty space at the top of each jar.
- Pour the hot sweet liquid syrup over the packed fruit in each jar, ensuring all fruit pieces are completely submerged while still maintaining one half inch of empty space at the top.
- Insert a clean plastic utensil or chopstick down the inside sides of each jar to gently release any trapped air bubbles to the surface.
- Wipe the rim of each glass jar completely clean using a damp paper towel so that no sticky syrup prevents a tight seal.
- Place a clean metal flat lid on top of each jar, then screw a metal outer ring band on until it is fingertip tight, being careful not to overtighten the ring.
- Place your filled jars carefully into a large deep pot fitted with a bottom rack, ensuring the jars do not touch each other directly and are covered with at least one to two inches of boiling water above their tops.
- Place the lid on the large pot, bring the water to a full rolling boil, and process the jars for 20 minutes (adjusting time upward if you live at high altitudes above 1000 feet).
- Turn off the stove heat after 20 minutes, remove the pot lid carefully, and let the jars rest submerged in the water for 5 minutes.
- Lift the hot jars out of the water using jar tongs and place them straight up on a thick kitchen towel on your counter, leaving two inches of space between jars.
- Allow the jars to cool undisturbed for 12 to 24 hours at room temperature while you listen for the satisfying metallic popping sound that proves your jars have sealed correctly.
- Press down on the center of each lid after 24 hours to confirm the seal is solid and does not flex or pop back up.
- Store your properly sealed glass jars in a cool, dark, dry food pantry for up to one full year, and put any unsealed jars straight into your refrigerator to enjoy within two weeks.
Why This Recipe Is Special
This homemade canned fruit recipe is truly special because it blends pure traditional kitchen wisdom with modern flexibility and fantastic health perks. Unlike standard factory options that drown fruit in heavy syrup made with high fructose corn liquids, this simple home method allows you to select wholesome white sugar and precise water proportions. By making a light or medium syrup, you highlight the natural, sun kissed flavors of the produce instead of masking them under an overwhelming wall of excessive sweetness. The addition of fresh lemon juice not only prevents natural browning but also adds a subtle bright sharpness that balances the rich sweetness of the fruit, creating an incredible flavor profile that feels refined, fresh, and deeply satisfying.
From a wellness and fitness point of view, this method provides a super clean way to enjoy sweet treats without eating processed junk food or artificial additives. Fresh peaches are naturally loaded with dietary fiber, essential vitamin C, vitamin A, and powerful antioxidants that support vibrant immune health, smooth skin, and healthy digestion. When you preserve them at peak freshness, you lock in a huge portion of these valuable nutrients. Having these jars stocked in your pantry gives you instant access to wholesome food that can satisfy late night sweet cravings while supporting your healthy lifestyle goals.
Another key factor that makes this recipe extraordinary is the sheer satisfaction of creating food security for your household. Knowing exactly what goes into your food brings great peace of mind to parents, meal planners, and food lovers alike. The physical texture of home preserved fruit is vastly superior as well. Factory cans often contain mushy, lifeless slices due to extreme chemical treatments and harsh mass heating. Following this gentle home boiling process results in plump, tender, and firm slices that hold their shape beautifully in pies, desserts, breakfast bowls, or when eaten straight out of the jar with a spoon.
Extra Tips for Better Taste
- Choose firm freestone peaches because their inner pits separate easily from the flesh, saving you tons of time and energy during preparation.
- Always select fresh fruit that is ripe but still slightly firm to the touch so that the slices maintain a great bite and do not turn mushy during boiling.
- Add a single cinnamon stick or a split vanilla bean into each glass jar before pouring hot liquid syrup for a warm, cozy gourmet flavor boost.
- Experiment with adding two slices of fresh root ginger into the syrup pan for a lively, mildly spicy kick that pairs amazingly with sweet fruit.
- Use a mix of half honey and half white sugar in your syrup mixture if you desire a rich, floral, natural sweetness profile.
- Always check that your jar rims are completely free of nicks, cracks, or sticky syrup residues before placing lids to ensure an absolute airtight lock.
- Never pour ice cold liquids into hot glass jars or place burning hot jars on cold marble counters, as extreme temperature shocks can cause glass to crack.
- Save the leftover sweet liquid from opened jars to sweeten iced tea, mix into sparkling sodas, or drizzle over morning pancakes and waffles.
Final Thoughts
Preserving your own fruit at home is a truly joyful, fulfilling kitchen journey that connects you to the wholesome traditions of simple, honest cooking. Once you master this clear and easy process, you will never want to buy commercial tin cans from the grocery store ever again. The fantastic smell of sweet fruit boiling on your stove, combined with the pure satisfaction of seeing jars of golden fruit lining your pantry shelves, makes every minute of effort totally worth it. Gather your ingredients, invite your family members to help out in the kitchen, and enjoy the magical process of sealing warm summer sunshine inside simple glass jars to enjoy all year round.
Nutrition Details
Below you will find helpful nutritional estimates for this homemade recipe. These numbers offer a quick snapshot based on average serving sizes prepared in light or medium syrup.
| Measurement Category | Per 1/2 Cup Serving (Light Syrup) | Per 1/2 Cup Serving (Medium Syrup) | Full Batch Total (Approximate) |
| Calories | 85 kcal | 125 kcal | 2040 kcal |
| Total Carbohydrates | 22 grams | 32 grams | 528 grams |
| Natural and Added Sugars | 19 grams | 29 grams | 456 grams |
| Dietary Fiber | 2 grams | 2 grams | 32 grams |
| Protein | 1 gram | 1 gram | 12 grams |
| Total Fat | 0 grams | 0 grams | 0 grams |
| Vitamin C | 10 percent DV | 10 percent DV | 160 percent DV |
| Potassium | 180 milligrams | 180 milligrams | 2880 milligrams |
Disclaimer
Every human body is completely unique, and individual dietary needs, metabolic reactions, and health conditions vary from person to person. The health and nutrition information provided in this recipe article is intended for general educational purposes only and should never replace professional medical advice. Always consult with a qualified doctor, registered dietitian, or health specialist before making significant changes to your daily nutrition plan or consuming homemade preserved foods if you have pre existing conditions such as diabetes. Always strictly follow safe home food preservation procedures to prevent food spoiled by wild bacteria or mold.