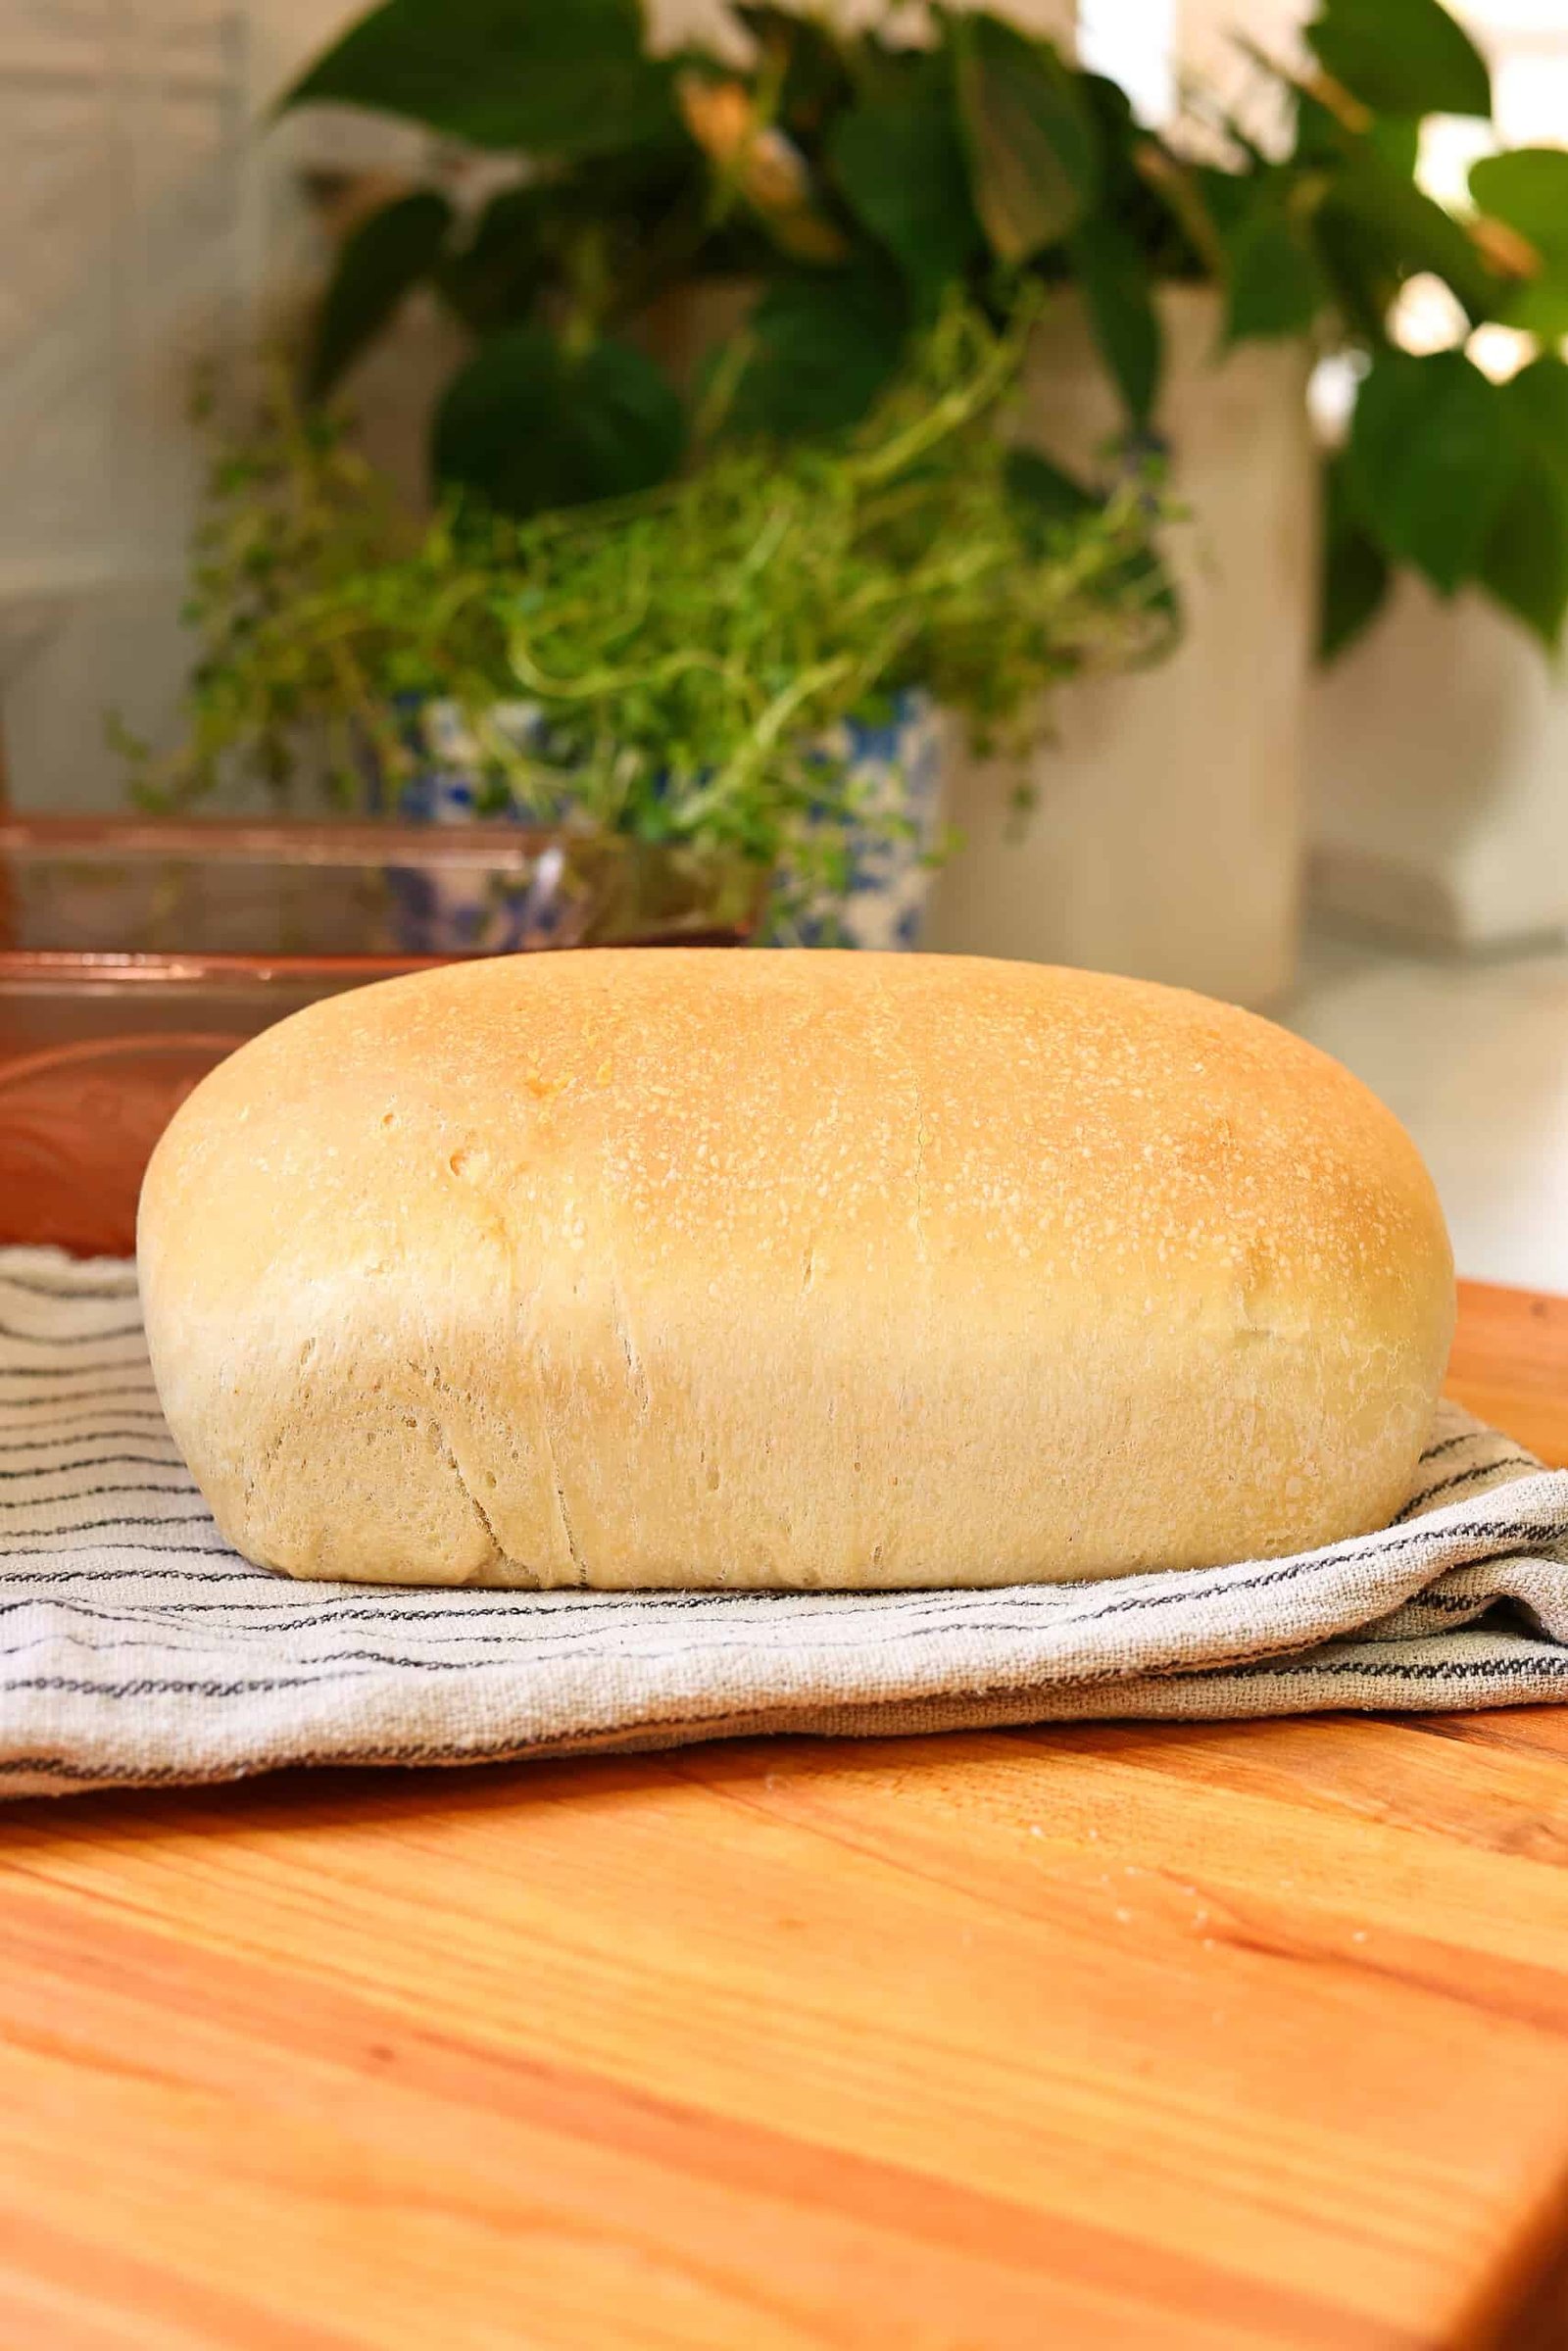
Sourdough sandwich bread is one of the most comforting and satisfying foods you can ever make right inside your own home kitchen. This recipe is all about taking simple natural ingredients like flour, water, active starter, and salt, and turning them into a soft, golden loaf that holds together perfectly for any sandwich. Unlike rustic sourdough loaves that have a very hard crunchy crust and giant holes, this special sandwich bread recipe focuses on creating a tender slice with a tight crumb structure. That means your mayonnaise, mustard, melted cheese, and fresh tomato slices will stay right where they belong instead of leaking through big air pockets onto your hands. Baking this bread brings deep joy because it connects you with ancient cooking methods that use real fermentation instead of fast commercial yeast. When you bake this loaf, your home fills with a rich buttery and slightly tangy aroma that immediately makes everyone feel safe, warm, and hungry for a homemade meal.
People around the world love sourdough sandwich bread because it hits the sweet spot between ultimate comfort food and wholesome daily nutrition. Standard store bought bread often contains artificial preservatives, added sugars, dough conditioners, and mystery chemicals designed to keep it shelf stable for weeks at a time. In stark contrast, this simple sourdough sandwich loaf gives you total control over what goes into your body while delivering a depth of flavor that commercial white bread simply cannot match. The slow fermentation process breaks down complex starches and gluten proteins, which makes the bread much softer on your digestive system and leaves you feeling light and energized rather than heavy and bloated. Every single bite offers a subtle wild yeast tang paired with a soft chewy texture that elevates an ordinary lunch into something truly memorable. It is no surprise that once people try this homemade version, they completely stop buying factory made bread.
There are so many wonderful moments in life when making a fresh loaf of sourdough sandwich bread feels like the absolute best decision you can make. If you are looking for a relaxing weekend activity to slow down your busy mind, mixing and shaping dough acts like a peaceful form of practical meditation. From a fitness perspective, this bread provides clean complex carbohydrates that fuel your workouts, sustain your physical energy, and help manage blood sugar spikes far better than highly processed grain products. From an emotional perspective, slicing into a warm loaf that you nurtured from scratch fills you with incredible pride and reminds you of simple wholesome family values. It is perfect for preparing weekday school lunches for your children, building epic leftover turkey sandwiches, making gooey grilled cheese on a rainy afternoon, or preparing crunchy morning toast topped with creamy avocado and poached eggs.
Making your own sourdough sandwich bread is also a fantastic step toward a more sustainable and self reliant lifestyle that saves money over time. When you realize that basic pantry staples can produce artisan quality bread for a fraction of the price of gourmet bakeries, you unlock a powerful new skill. You will no longer worry about late night grocery runs just to get bread for tomorrow morning because your starter is always ready to work for you. Sharing a fresh loaf with a new neighbor, a sick friend, or a family member shows genuine love and effort that no store bought gift can ever replace. Food brings people together, and bread is the ultimate symbol of sharing a meal. As you master this easy process, you will build culinary confidence that inspires you to explore even more homemade recipes in your kitchen journey.
Ingredients You Will Need
To bake one large and beautiful loaf of sourdough sandwich bread, gather the following simple items:
-
Active sourdough starter: 100 grams (bubbly, fed, and active)
-
Warm water: 250 grams (filtered water preferred, about 80 degrees Fahrenheit)
-
Whole milk: 50 grams (lukewarm, adds extra softness to the crumb)
-
Unbleached bread flour: 500 grams (gives great structure and chew)
-
Honey or pure maple syrup: 25 grams (provides mild sweetness and feeds yeast)
-
Unsalted butter: 30 grams (melted and cooled slightly, adds rich flavor)
-
Fine sea salt: 10 grams (enhances flavor and strengthens gluten networks)
Step by Step Method
Step 1: Prepare Your Active Starter
Make sure your sourdough starter is fully active and bubbly before you begin your baking process. Feed your starter about four to six hours before you plan to build your dough, keeping it in a warm spot in your kitchen. You will know it is ready when it has doubled or tripled in total volume, looks very fluffy, and displays dozens of tiny air bubbles through the glass jar. If you drop a small spoonful of this active starter into a glass of lukewarm water, it should float right at the top surface.
Step 2: Mix the Liquid Base
In a large glass or ceramic mixing bowl, combine the warm water, warm whole milk, active sourdough starter, and sweet honey. Stir these liquid ingredients together using a wooden spoon or a dough whisk until the starter completely dissolves into a milky smooth liquid. Next, pour in the melted unsalted butter and stir well so that the fats spread evenly throughout the liquid mixture.
Step 3: Add Flour and Rest the Dough
Pour all of the unbleached bread flour directly into your liquid mixture. Use a sturdy spoon or your clean hands to mix everything together until all dry flour patches disappear and a shaggy dough forms inside the bowl. Cover the bowl with a damp kitchen towel or plastic wrap and let it sit undisturbed for thirty minutes at room temperature. This resting period is called autolyse, and it allows the flour to fully absorb the liquids and start developing gluten naturally.
Step 4: Add Salt and Knead
After the thirty minute rest, sprinkle the fine sea salt evenly over the top of your shaggy dough. Knead the dough inside the bowl or turn it out onto a clean countertop. Gently push, stretch, and fold the dough for about six to eight minutes until it becomes smooth, soft, and slightly elastic. The dough should feel tender and pliable, not overly sticky or dry. Shape it into a smooth round ball and place it back into your greased mixing bowl.
Step 5: Perform Stretch and Folds
Cover the bowl again and let the dough undergo bulk fermentation at room temperature for about four to six hours, depending on how warm your kitchen is. During the first two hours of this rest, perform three sets of stretch and folds spaced thirty minutes apart. To do a stretch and fold, wet your hand with clean water, reach under one side of the dough, pull it gently upward without tearing it, and fold it over the top center of the dough. Rotate the bowl a quarter turn and repeat this action four times until all sides are folded. This simple technique builds strong structure without tough physical labor.
Step 6: Shape the Sandwich Loaf
Once your dough has risen by roughly fifty percent and feels light, airy, and puffy to the touch, gently tip it out onto a very lightly floured work surface. Gently press the dough with your fingertips into a flat rectangle shape that measures roughly eight inches wide and twelve inches long. Fold the left edge into the middle, then fold the right edge over the top like a business letter. Next, roll the dough tightly from the top edge down to the bottom edge into a neat log. Pinch the bottom seam closed tightly with your fingers.
Step 7: Final Rise in the Pan
Lightly grease a standard nine by five inch metal loaf pan with butter or oil. Carefully lift your shaped dough log and place it seam side down inside the prepared loaf pan. Cover the loaf pan loosely with a clean damp cloth or a shower cap. Allow the dough to rise in a warm, draft free space for two to four hours, or until the top of the dough crown rises about one inch above the rim of the pan. Alternatively, you can place the covered pan inside your refrigerator overnight for a slow cold proof, which builds an even richer sourdough flavor.
Step 8: Bake to Golden Perfection
Preheat your home oven to 375 degrees Fahrenheit (190 degrees Celsius). If you chilled your dough in the refrigerator overnight, let it sit on your counter for thirty minutes while the oven heats up completely. Brush the top of the dough gently with a little melted butter or milk if you want a soft, shiny top crust. Place the loaf pan on the middle rack of your oven and bake for thirty five to forty minutes. The bread is fully done when the top displays a deep golden brown color and the bottom sounds hollow when gently tapped.
Step 9: Cool completely Before Slicing
Remove the bread pan safely from the oven using thick oven mitts. Let the loaf sit inside the pan for five minutes, then gently run a butter knife around the inside edges to release the bread. Tip the loaf out of the pan and place it onto a wire cooling rack. Allow the bread to cool completely for at least two full hours before slicing it. Slicing warm sourdough releases trapped steam, which can make the inside texture gummy and dense. Patience rewards you with perfect, clean slices.
Why This Recipe Is Special
This sourdough sandwich bread recipe stands out because it solves the biggest problem people have with traditional artisan sourdough loaves. Standard sourdough often features a crust so hard that it hurts the top of your mouth, along with holes so large that jam, butter, or condiment spreads fall right onto your lap. By adding a small amount of whole milk, rich butter, and natural honey, this recipe softens the gluten structure just enough to create a pillow soft crumb while preserving all the complex fermented flavor you love. It gives you the best of both worlds by combining the structure of modern sandwich bread with the ancient health benefits of real sourdough.
From a health perspective, long sourdough fermentation works absolute magic on humble flour. The beneficial wild yeasts and lactic acid bacteria digest much of the phytic acid naturally found in wheat grains. Phytic acid is an anti nutrient that can block your body from absorbing important minerals like iron, zinc, magnesium, and calcium. Sourdough fermentation neutralizes phytic acid, making these vital nutrients far more bioavailable for your body to process. Additionally, the organic acids produced during fermentation slow down the rate at which your body breaks down carbohydrates into sugar, resulting in a much lower glycemic index compared to regular commercial white bread.
The gut health benefits of eating real sourdough sandwich bread are truly remarkable as well. The beneficial bacteria help break down gluten proteins into smaller amino acids before you even take a single bite. This pre digestion process makes sourdough much easier on your stomach, allowing many people with non celiac gluten sensitivities to enjoy fresh bread again without experiencing gas, pain, or uncomfortable bloating. The pleasant sour note balanced by the smooth sweetness of natural honey creates an unbeatable flavor profile that enhances every single ingredient you layer inside your favorite sandwich combinations.
Extra Tips for Better Taste
-
Use high protein bread flour: Bread flour contains higher protein levels than standard all purpose flour, which builds stronger gluten chains that help your loaf rise tall and hold its shape nicely inside the pan.
-
Keep your kitchen warm: Sourdough yeast loves warmth. If your kitchen is cold, let your dough rise inside an oven that is turned off with the internal oven light turned on to create a snug environment.
-
Add milk for extra softness: If you want an even softer, squishier texture similar to classic milk bread, you can replace all of the water in the recipe with whole milk or buttermilk.
-
Brush with butter right after baking: As soon as you pull your hot loaf out of the oven, rub a stick of cold unsalted butter all over the top crust. This seals in moisture and keeps the top crust incredibly tender and soft.
-
Slice with a serrated bread knife: Always use a long, sharp serrated knife to cut your bread. Use a gentle sawing motion without pressing down hard so you do not crush the airy crumb structure inside.
-
Freeze pre sliced portions: Sourdough sandwich bread stays fresh on your counter inside a paper bag or bread box for up to four days. To store it longer, slice the entire cooled loaf and freeze the individual slices inside a sealed freezer bag. You can pop frozen slices directly into your toaster whenever you need fresh bread quickly.
-
Experiment with savory additions: Try adding a cup of shredded cheddar cheese, toasted garlic powder, fresh rosemary, or cracked black pepper to the dough during the final knead for a fun custom sandwich loaf.
Final Thoughts
Baking your own sourdough sandwich bread is a incredibly rewarding journey that brings simplicity, health, and pure deliciousness back into your daily kitchen routine. It transforms basic household staples into a nourishing staple food that feeds your body and satisfies your soul. Do not worry if your very first loaf is not completely picture perfect, because every single attempt teaches you how sourdough behaves in your unique home environment. The subtle variations in temperature, starter strength, and humidity make every loaf a unique work of art that you created with your own two hands. Gather your simple ingredients, feed your active starter, and enjoy every single step of this peaceful homemade bread journey.
Nutrition Details
Here is an estimated nutritional breakdown for one single slice of this delicious sourdough sandwich bread, assuming the loaf is cut evenly into fourteen equal slices.
Nutritional Table per Serving
| Nutrients | Amount Per Slice |
| Total Calories | 165 kcal |
| Carbohydrates | 30 grams |
| Dietary Fiber | 1.5 grams |
| Sugars | 2 grams |
| Protein | 5 grams |
| Total Fat | 2.5 grams |
| Saturated Fat | 1.2 grams |
| Trans Fat | 0 grams |
| Cholesterol | 5 milligrams |
| Sodium | 280 milligrams |
| Potassium | 65 milligrams |
| Calcium | 20 milligrams |
| Iron | 1.8 milligrams |
Please keep in mind that exact nutrition values can vary based on the specific brands of flour, milk, butter, and sweeteners you choose to use in your own kitchen setup.
Disclaimer
This recipe and the accompanying health information are provided strictly for educational and informational purposes. Everyone has a unique biological makeup, distinct dietary requirements, and individual health conditions, meaning that personal experiences with fermented foods and gluten may vary from person to person. If you suspect you have celiac disease, severe gluten allergies, or specific metabolic health issues, always consult with a qualified medical healthcare provider or a registered dietitian before making significant changes to your daily eating habits. Enjoy your baking journey safely and listen to your own body at all times.