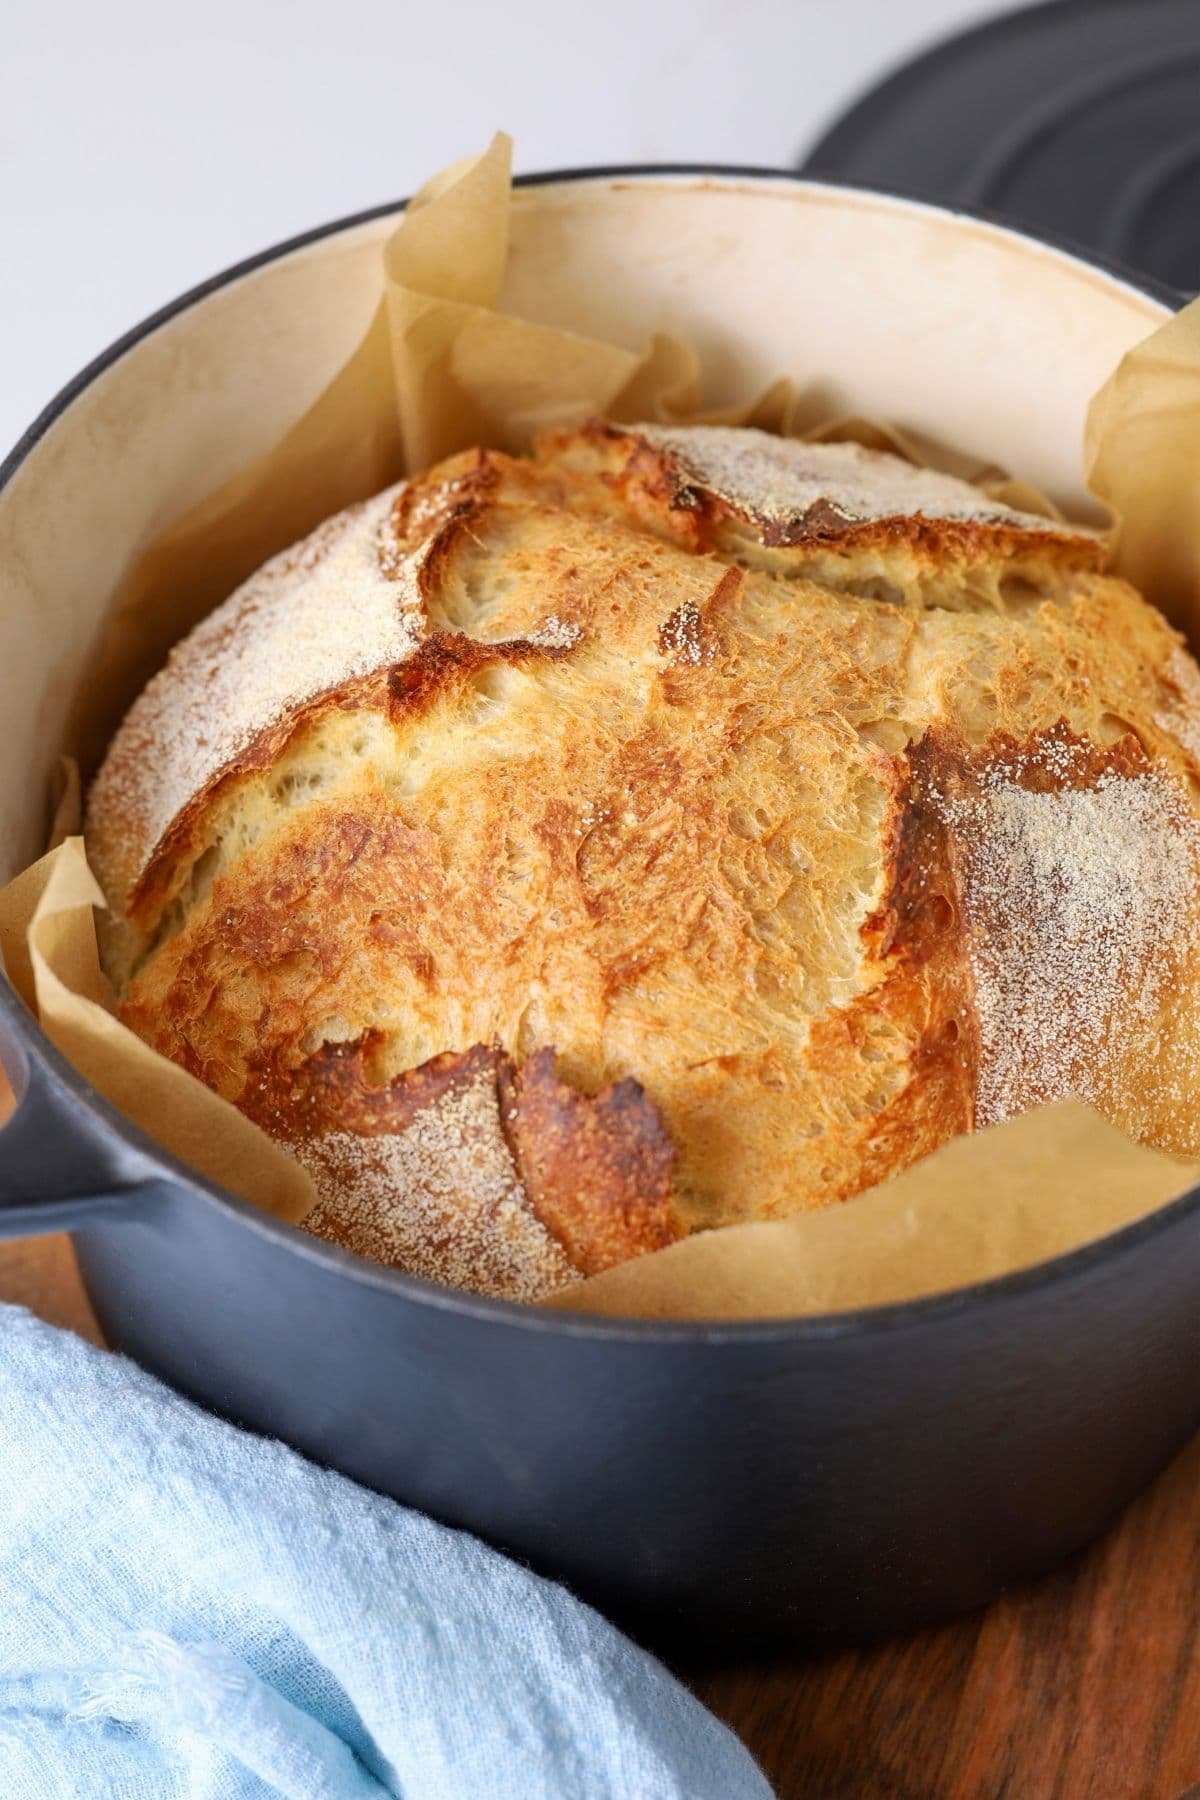
Sourdough baking is one of the most rewarding kitchen hobbies you can start because it lets you turn simple flour and water into fresh loaves of bread. However, anyone who keeps a starter knows that the process creates a lot of extra batter that usually gets thrown away during daily feedings. Throwing away that mixture feels like a waste of good ingredients, especially when you think about the time and effort you put into growing your culture. That is where an easy sourdough discard recipe comes in to save the day by transforming that extra batter into something truly delicious. Instead of washing that useful batter down the drain, you can use it to make soft, warm, and flavorful baked goods that your whole family will love. This process turns kitchen waste into wonderful treats, making your home baking journey much more economical and satisfying overall.
People absolutely love this quick baking method because it solves a big problem in the kitchen while giving you almost instant gratification. Traditional bread making takes many hours or even days because you have to wait for the wild yeast to raise the dough slowly. On the other hand, using your extra batter with a little baking powder or baking soda lets you cook amazing dishes in just a few minutes. You get that iconic tangy flavor that everyone loves without having to wait all day for the dough to rise. It is the ultimate kitchen shortcut for busy parents, hard working professionals, or anyone who wants a homemade treat without spending their entire weekend in the kitchen. Once you try this approach, you will actually look forward to feed day because it means you get to make another batch of tasty snacks.
There are so many wonderful reasons to make this dish, whether you are looking for comfort food on a rainy morning or a quick breakfast before school. The deep, rich taste of fermented grains brings a unique flavor profile that standard store bought treats simply cannot match. From a fitness perspective, using fermented flour can be much gentler on your stomach compared to unfermented grains because the natural bacteria help break down complex carbohydrates. Emotionally, baking with your extra starter connects you to old fashioned kitchen traditions where nothing was ever wasted and every meal was made with care. Serving these warm treats to your loved ones creates cozy memories around the breakfast table that stay with you long after the dishes are washed and put away.
You do not need to be a professional chef or have expensive equipment to master this simple and reliable kitchen guide. The ingredients are basic items that you likely already have sitting in your pantry and refrigerator right now. By combining your extra batter with basic kitchen staples, you create a soft texture and rich flavor profile that will impress anyone who takes a bite. This method works well whether your starter is fresh from the counter or has been sitting in the back of your fridge for a week. It is a forgiving, flexible way to cook that encourages you to relax and enjoy the simple process of creation. Once you learn the basic rhythm of this preparation, it will quickly become a regular part of your weekly meal routine.
Ingredients You Will Need
One cup of sourdough discard at room temperature One cup of all purpose white flour One teaspoon of baking powder Half a teaspoon of baking soda Half a teaspoon of fine sea salt Two tablespoons of granulated white sugar One large egg at room temperature One cup of whole milk Quarter cup of unsalted butter melted and cooled One teaspoon of pure vanilla extract
Step by Step Method
First step requires you to gather all your ingredients and place them on your kitchen counter so everything is easy to reach. Take your melted butter and let it cool down slightly so it does not cook the egg when you combine them later. Grab a large mixing bowl for your dry ingredients and a medium mixing bowl for your wet ingredients. Having two bowls ready will help you mix everything evenly without overworking the batter, which is the main secret to keeping your final baked goods soft and fluffy.
Second step is to prepare your dry mixture in the large bowl. Add one cup of all purpose white flour, one teaspoon of baking powder, half a teaspoon of baking soda, half a teaspoon of fine sea salt, and two tablespoons of granulated white sugar. Take a hand whisk and stir these dry ingredients together for about thirty seconds. This step ensures that the baking powder and baking soda are spread evenly throughout the flour so your batter rises nicely and cooks uniformly.
Third step is to combine all your wet ingredients in the medium bowl. Measure out one cup of your extra sourdough batter and pour it into the bowl. Add one large egg, one cup of whole milk, a quarter cup of melted and cooled unsalted butter, and one teaspoon of pure vanilla extract. Use your whisk to beat these ingredients together until the liquid is smooth and all the extra batter has blended completely with the milk and egg.
Fourth step involves joining the wet and dry ingredients together to form your final cooking batter. Gently pour the liquid mixture from the medium bowl directly into the large bowl with the dry flour mixture. Use a soft silicone spatula or a wooden spoon to gently fold the ingredients together using broad circular movements. Do not stir too fast or mix too much. Stop mixing as soon as you see no more dry white flour spots. A few small lumps in the batter are completely fine and actually help create a tender texture.
Fifth step is to let your batter rest quietly on the counter for about ten minutes. This short waiting time allows the natural acids in your fermented flour to react with the baking soda and baking powder. You will notice small bubbles forming on top of the batter as it rests, which means the mixture is getting light, airy, and ready for cooking. While the batter is resting, you can move over to your stove and begin heating your frying pan or flat skillet.
Sixth step is to heat your cooking surface over medium low heat. You want the pan to be warm enough to cook the batter properly without burning the outside before the inside is fully done. Add a small drop of extra butter or a light spray of cooking oil to coat the surface of the pan. Wipe away any excess oil with a clean paper towel so you have an even, thin layer of grease across the cooking area.
Seventh step is to scoop the batter onto the hot pan using a quarter cup measure or a small ladle. Pour the batter gently so it forms nice, round circles on the skillet surface. Leave about two inches of space between each circle so they do not run into each other as they expand. You should hear a gentle sizzle when the batter touches the hot pan, which tells you the temperature is just right.
Eighth step is to watch the cooking process carefully as bubbles begin to rise to the surface of the batter. Cook each side for about two to three minutes over medium low heat. You will know it is time to flip when you see tiny air bubbles pop open on top and the edges of the circles look set and dry. Slip a wide, flat spatula underneath and turn each piece over in one quick, confident movement.
Ninth step is to cook the second side for another two minutes until it reaches a beautiful golden color. Press down very lightly with your spatula to make sure the middle feels firm and cooked through. If the outside is browning too fast while the inside remains wet, turn your stove burner down to a lower setting. Transfer the cooked pieces to a warm plate and cover them loosely with a clean kitchen towel while you cook the remaining batter.
Tenth step is to serve your delicious home cooked creation while it is still fresh and hot. Stack them high on individual serving plates and top them with extra butter, warm maple syrup, fresh berries, or a dusting of powdered sugar. Enjoy the wonderful combination of crispy edges, soft insides, and that signature tangy flavor that makes sourdough baking so legendary in households all around the world.
Why This Recipe Is Special
This preparation stands out because it solves the common problem of kitchen waste in a delicious way. Instead of throwing valuable fermented flour into the trash, you turn it into a comforting meal that brings joy to your table. Saving ingredients saves money over time, making your home kitchen far more efficient and sustainable. It feels great to know that every bit of flour you buy is being used to nourish your family rather than going to waste.
The health benefits of using fermented flour are another reason why this method is so popular among home bakers. During the fermentation process, wild yeast and friendly bacteria feed on the starches in the flour. This natural action breaks down some of the gluten proteins and phytic acid, which makes the final food much easier on your digestive system. Many people who feel heavy or bloated after eating regular baked goods find that they digest sourdough products much better.
From a flavor standpoint, nothing can compare to the complex taste created by natural fermentation. The mild sour note balances perfectly with the sweet sugar, rich butter, and smooth vanilla extract. It adds a sophisticated layer of flavor that turns a simple morning meal into a special dining experience. The contrast between the light, fluffy center and the golden, crispy outer edges makes every single bite completely irresistible.
Extra Tips for Better Taste
If you want to make your creation even more delicious, there are several simple tricks you can try in your kitchen. First, try adding a pinch of ground cinnamon or a tiny dash of nutmeg to your dry flour mixture. Warm spices complement the tangy flavor of the fermented flour in a wonderful way, making your kitchen smell like a professional bakery while you cook.
Another great trick is to mix in fresh fruit or chocolate chips right after you pour the batter onto the hot pan. Dropping fresh blueberries, thin banana slices, or dark chocolate bits directly onto the wet batter ensures that the toppings are spread out evenly. Doing this prevents heavy ingredients from sinking to the bottom of your mixing bowl while the batter sits on the counter.
You can also experiment with different healthy fats to change the flavor and texture of your finished dish. Replacing the melted butter with coconut oil gives a light tropical aroma, while using rich brown butter adds a deep, nutty flavor that pairs amazingly well with maple syrup. Always make sure your liquid fats are slightly cooled before mixing them into the wet bowl so you maintain a smooth, perfect texture.
Final Thoughts
Baking at home should always be a fun, relaxing activity that brings comfort and happiness into your everyday life. This simple approach to using up your extra starter shows how easy it is to create wonderful meals without stress or complicated techniques. You do not need years of practice or fancy culinary training to make food that looks great and tastes incredible. Gather your simple pantry ingredients, heat up your skillet, and enjoy the wonderful experience of turning basic kitchen extras into a warm, delicious feast for the people you love most.
Nutrition Details
| Nutrient Name | Amount Per Serving | Daily Value Percentage | | Calcium | 120 mg | 10 percent | | Carbohydrates | 28 g | 10 percent | | Cholesterol | 35 mg | 12 percent | | Dietary Fiber | 1 g | 4 percent | | Iron | 1.5 mg | 8 percent | | Potassium | 150 mg | 4 percent | | Protein | 6 g | 12 percent | | Saturated Fat | 3.5 g | 18 percent | | Serving Size | 2 pieces | Not Applicable | | Sodium | 380 mg | 16 percent | | Total Calories | 210 kcal | 10 percent | | Total Fat | 7 g | 9 percent | | Total Sugars | 5 g | Not Applicable |
Disclaimer
The nutritional information provided in this article is for general educational purposes only and represents an estimated calculation based on standard ingredient values. Every individual body responds differently to foods, and actual dietary results may vary depending on specific health conditions, activity levels, and personal metabolic rates. Ingredients can vary by brand, preparation style, and portion sizes, which will alter the exact calorie count and nutritional breakdown. Always listen to your body and consult with a qualified health professional or registered dietitian if you have specific dietary concerns, food allergies, or medical conditions that require specialized nutrition planning.